用docker搭建前端开发环境
直接安装 vs 虚拟机 vs docker
对比安装方式
| 对比 | 直接安装 | 虚拟机 | docker |
|---|---|---|---|
| 优点 | 简单,直接 | 环境隔离 | 环境隔离,方便迁移 |
| 缺点 | 污染全局环境,多版本情况不好处理 | 启动慢,资源占用多 | - |
概念
image: 镜像,是一个只读版本,用来创建容器
container: 容器,是一个可运行的镜像实例
Dockerfile: 镜像构建的模版,描述镜像构建的步骤
简单示例
1.代码文件
1
2
/** index.js */
console.log('hello world');2.获取node14.19.1镜像
1
$ docker pull node:14.19.1-slim
3.Dockerfile
1
2
3
4
5
/** Dockerfile */
FROM node:14.19.1-slim // 获取node版本镜像 https://hub.docker.com/_/node?tab=tags&page=1&name=14.19.1
COPY . ./demo // 拷贝当前目录到demo目录
WORKDIR /demo // 进入demo目录
CMD node index.js // 执行node index.js4.构建镜像
1
2
3
$ docker image build -t demo . // 构建镜像
$ docker image ls // 查看镜像
$ docker container run demo // 运行容器
搭建开发环境
全局安装:node, git, typescript, uniapp
1 | FROM node:14.19.1-slim |
1 | $ docker image build -t vue-docker // 构建镜像 |
docker映射端口
1 | $ docker container run -p 3000:3000 vue-docker //容器端口映射真实端口 |
挂载点???
可以让容器访问本机的文件系统
1 | $ docker container run -v "${pwd}:/vue3" -it vue-docker /bin/bash |
vscode插件
Remote-ContainersRemote-SSH
所有开发用同一个镜像
方便复制环境,方便统一环境,方便随时随地远程工作
ps: 可以团队使用一个镜像,全部远程开发
docker托管静态文件
配置docker配置文件
1
2
3
4/** Dockerfile */
FROM nginx
COPY ./dist/index.html /usr/share/nginx/html/index.html
EXPOSE 80构造镜像
1
$ docker image build ./ -t hello-docker:1.0.0
运行容器
1
2
3
4
5
6// 创建容器(容器端口映射)
$ docker container create -p 3333:80 hello-docker:1.0.0 // 生成结果:18bcc90642d06e4eced9e928b14d83adda753200881b5c48cfce6c790826049a
// 启动容器
$ docker container start 18bcc90642d06e4eced9e928b14d83adda753200881b5c48cfce6c790826049a
在浏览器打开:http://localhost:3333
迁移静态站点
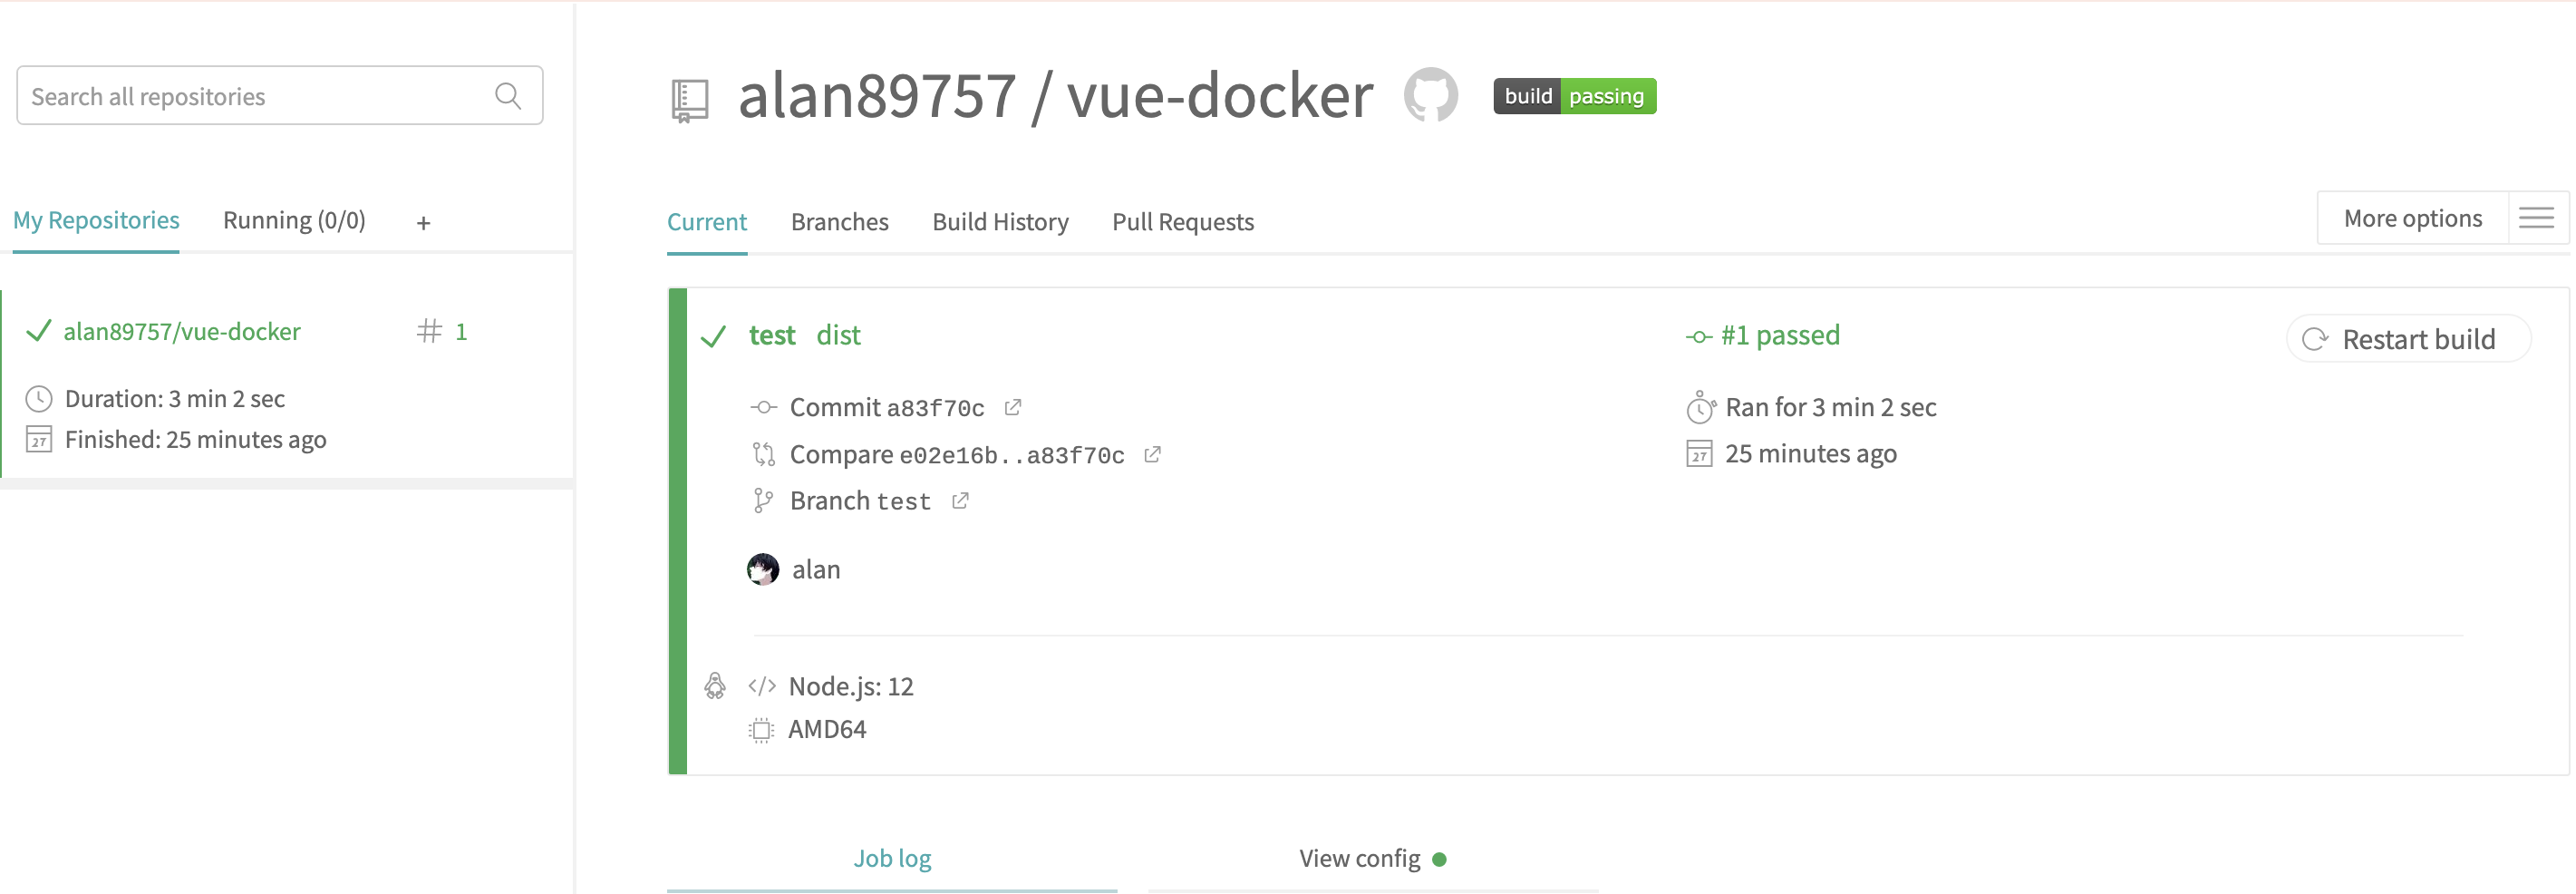
- Github中的CI 注册Travis CI
在项目根目录添加.travis.yml文件
1 | /** .travis.yml */ |
travis CI配置
spa页面重定向,nginx配置如下
1
2
3
4
5
6
7
8
9
10
11
12
13
14
15
16
17
18server {
listen 80;
server_name localhost;
location / {
root /usr/share/nginx/html;
index index.html index.htm;
proxy_set_header Host $host;
if (!-f $request_filename) {
rewrite ^.*$ /index.html break;
}
}
error_page 500 502 503 504 /50x.html;
location = /50x.html {
root /usr/share/nginx/html;
}
}Dockerfile配置
1
2
3
4FROM nginx
COPY ./dist/ /usr/share/nginx/html/
COPY ./vhost.nginx.conf /etc/nginx/conf.d/hello-docker.conf // 读取nginx配置
EXPOSE 80运行容器
1
2
3docker image pull alan89757/hello-docker:latest
docker container create -p 3333:80 alan89757/hello-docker:latest
docker container start xxx # xxx 为上一条命令执行的返回值
nginx反向代理
背景:目前我们将容器挂到了 3333 端口,但是线上不可能让用户手动输入 3333 端口进行访问。而如果将容器直接挂到 80 端口,虽然这样用户可以直接不加端口直接访问,但是如果有第二个容器,或者更多容器呢?
这时候就需要在宿主机跑一个 Nginx,由它来独占 80 端口,然后根据域名来讲请求分发给响应的容器
- 登陆服务器安装nginx
1
2
3$ apt update # 更新软件包
$ apt-get install nginx # 安装 Nginx
$ systemctl status nginx # 查看 Nginx 状态 - 配置反向代理
1
2
3
4
5
6
7
8server {
listen 80;
server_name pea3nut.info;
location / {
proxy_pass http://127.0.0.1:8082;
}
}
docker-compose
- docker-compose 是 Docker 官方提供的一个 Docker 管理工具
- docker-compose 会帮我们自动去拉镜像,创建容器,将容器中的80端口映射为宿主机的8082端口。restart字段还要求 docker-compose 当发现容器意外挂掉时重新启动容器,类似于 pm2,所以你不必再在容器内使用 pm2
1
$ docker-compose --help
- 新建docker-compose.yml
1
2
3
4
5
6
7
8version: "3.7" # 这个是配置文件的版本,不同的版本号声明方式会有细微的不同
services:
info:
container_name: pea3nut-info
image: pea3nut/pea3nut-info:latest
ports:
- "8082:80"
restart: on-failure - 启动服务
docker-compose up info
创建新容器
1 | $ docker-compose pull info |
Volume
- Volume可以将容器内和宿主机的某个文件夹进行”绑定“,任何文件改动都会得到同步。所以,我可以将整个站点目录和 MySQL 目录都挂载为 Volume。这样,当容器删除时,所有数据文件和源码都会保留
- 在本地建立./blog/mysql-data目录存储 MySQL 数据,建立./blog/wordpress目录存储 WordPress 源码。然后修改docker-compose.yml如下:
1
2
3
4
5
6
7
8
9
10
11
12
13
14
15
16
17version: "3.7"
services:
info:
container_name: pea3nut-info
image: pea3nut/pea3nut-info:latest
ports:
- "8082:80"
restart: on-failure
+ blog:
+ container_name: pea3nut-blog
+ image: tutum/lamp:latest
+ ports:
+ - "8081:80"
+ volumes:
+ - ./blog/mysql-data:/var/lib/mysql
+ - ./blog/wordpress:/app
+ restart: on-failure